Why Anatomical Knowledge is the Foundation of Quality Radiographic Imaging
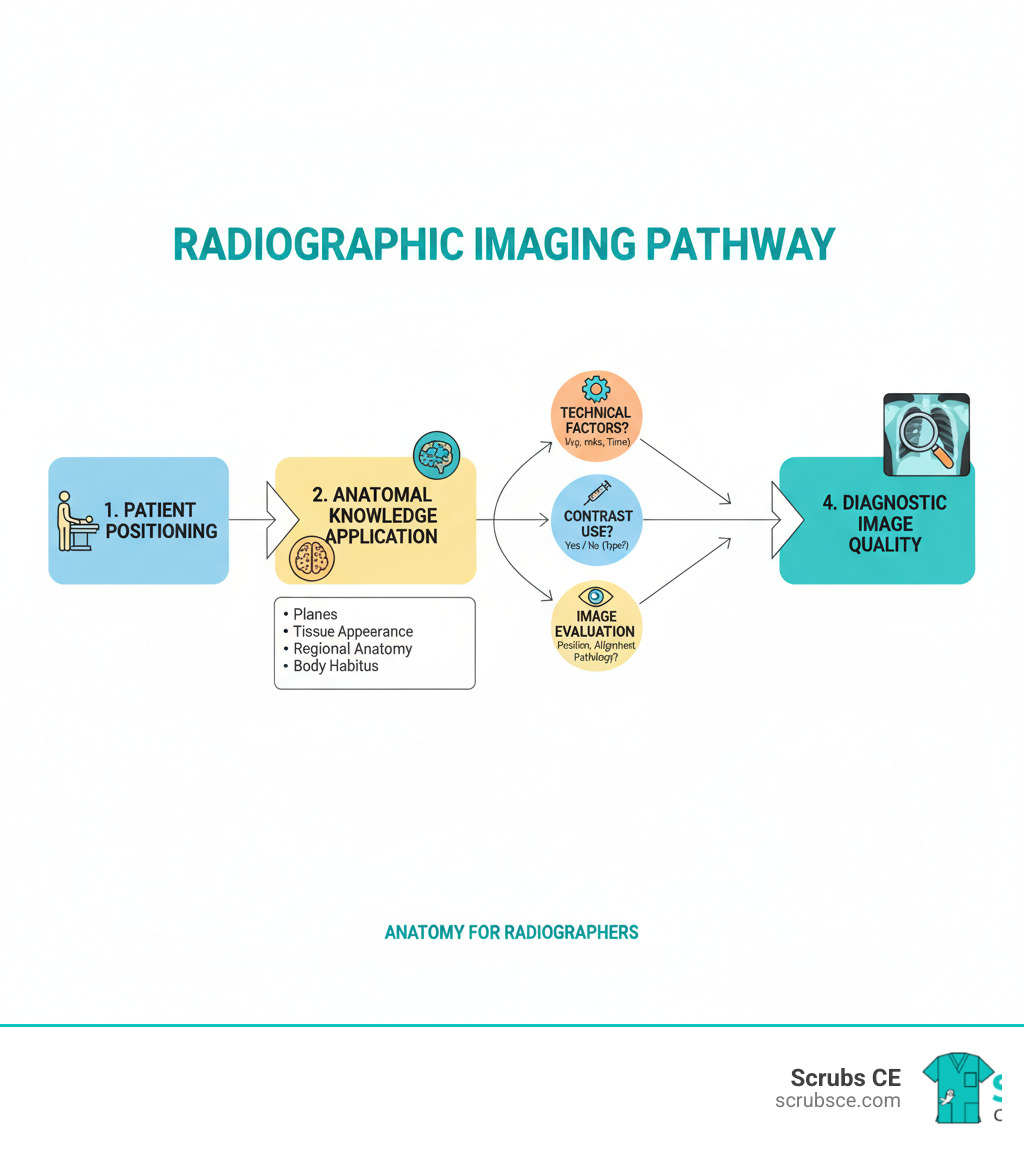
Anatomy for radiographers is the cornerstone of producing diagnostic-quality images. Without a deep understanding of anatomical structures, their locations, and their appearance across imaging modalities, radiographers cannot consistently position patients correctly, select proper technical factors, or identify the need for repeat images.
Core essentials every radiographer must know:
- Anatomical planes and positioning – Understanding sagittal, coronal, and axial planes is critical for proper patient alignment and interpreting cross-sectional imaging.
- Tissue appearance across modalities – Knowing how bone, soft tissue, air, and fluid appear in X-ray, CT (Hounsfield Units), and MRI (T1w vs. T2w signal intensity) is key to image interpretation.
- Regional anatomy – Mastery of structures in the brain, chest, abdomen, pelvis, spine, and extremities is essential for all examinations.
- Body habitus variations – Recognizing how sthenic, asthenic, hyposthenic, and hypersthenic body types affect organ placement impacts positioning and exposure technique.
- Normal vs. abnormal – A solid grasp of normal anatomy allows you to identify potential pathologies and communicate effectively with radiologists.
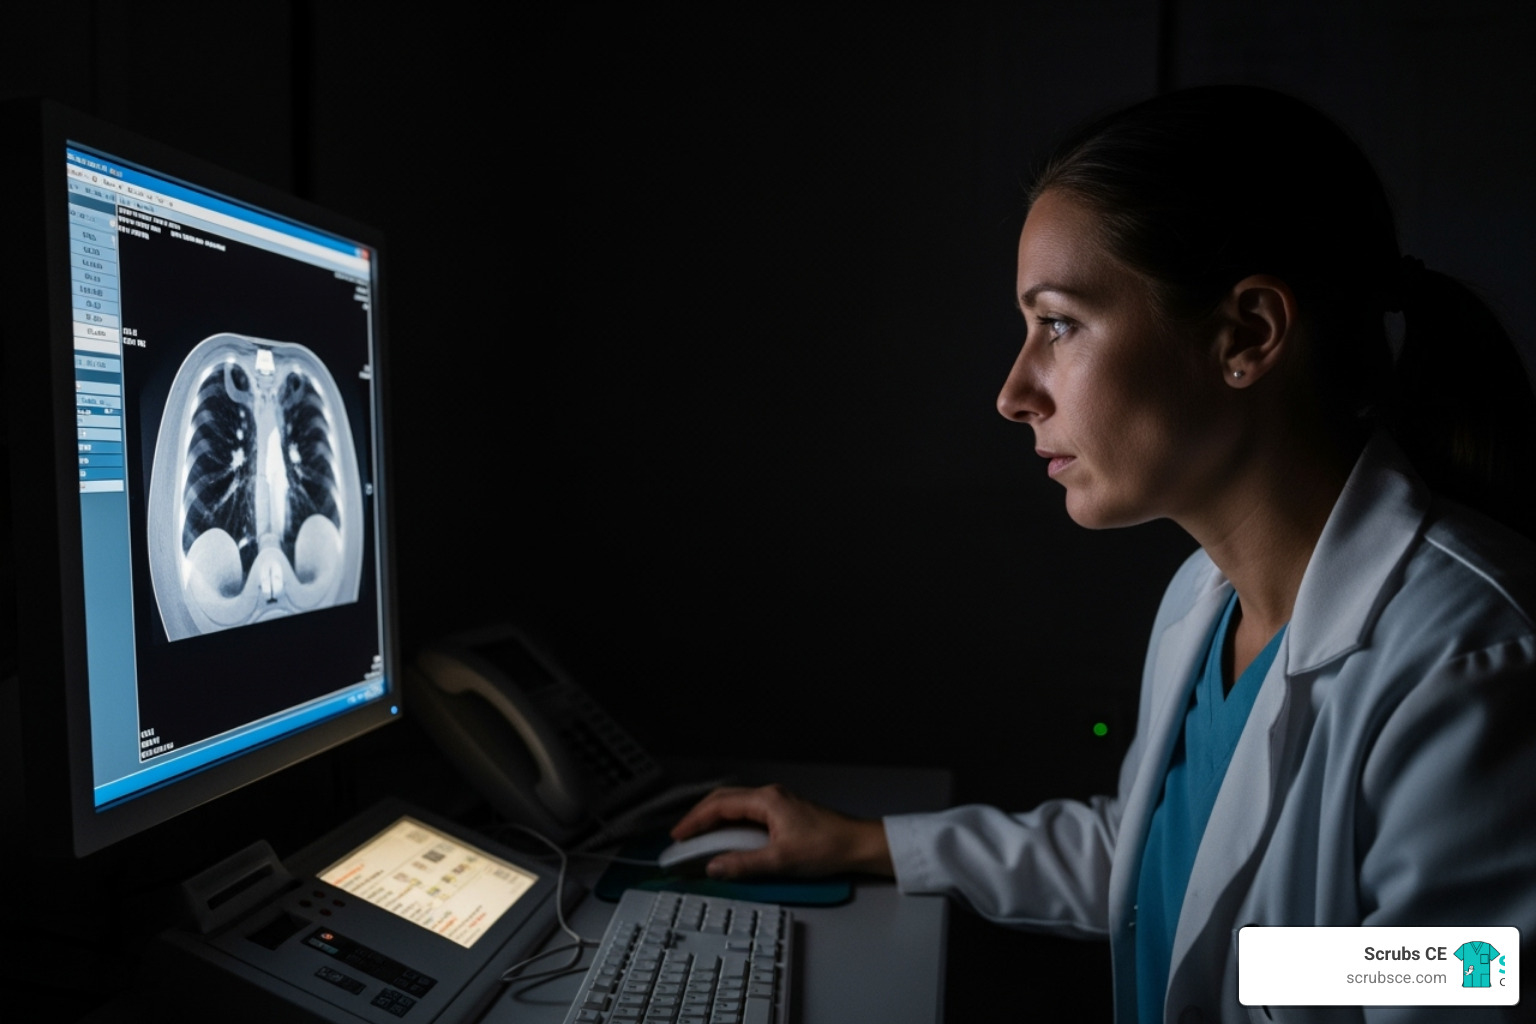
Understanding how organ placement varies between body types—especially since over 85% of people are sthenic or hyposthenic—can prevent repeat exposures. As a radiographer, you apply your knowledge of 3D anatomy to create 2D or cross-sectional images that physicians use for diagnosis and treatment planning. You’re not just taking pictures; you’re creating a vital diagnostic tool.
Foundations of Radiological Imaging: Modalities and Principles
Mastering anatomy for radiographers requires understanding how each imaging modality translates the invisible into the visible. Let’s review the core technologies.
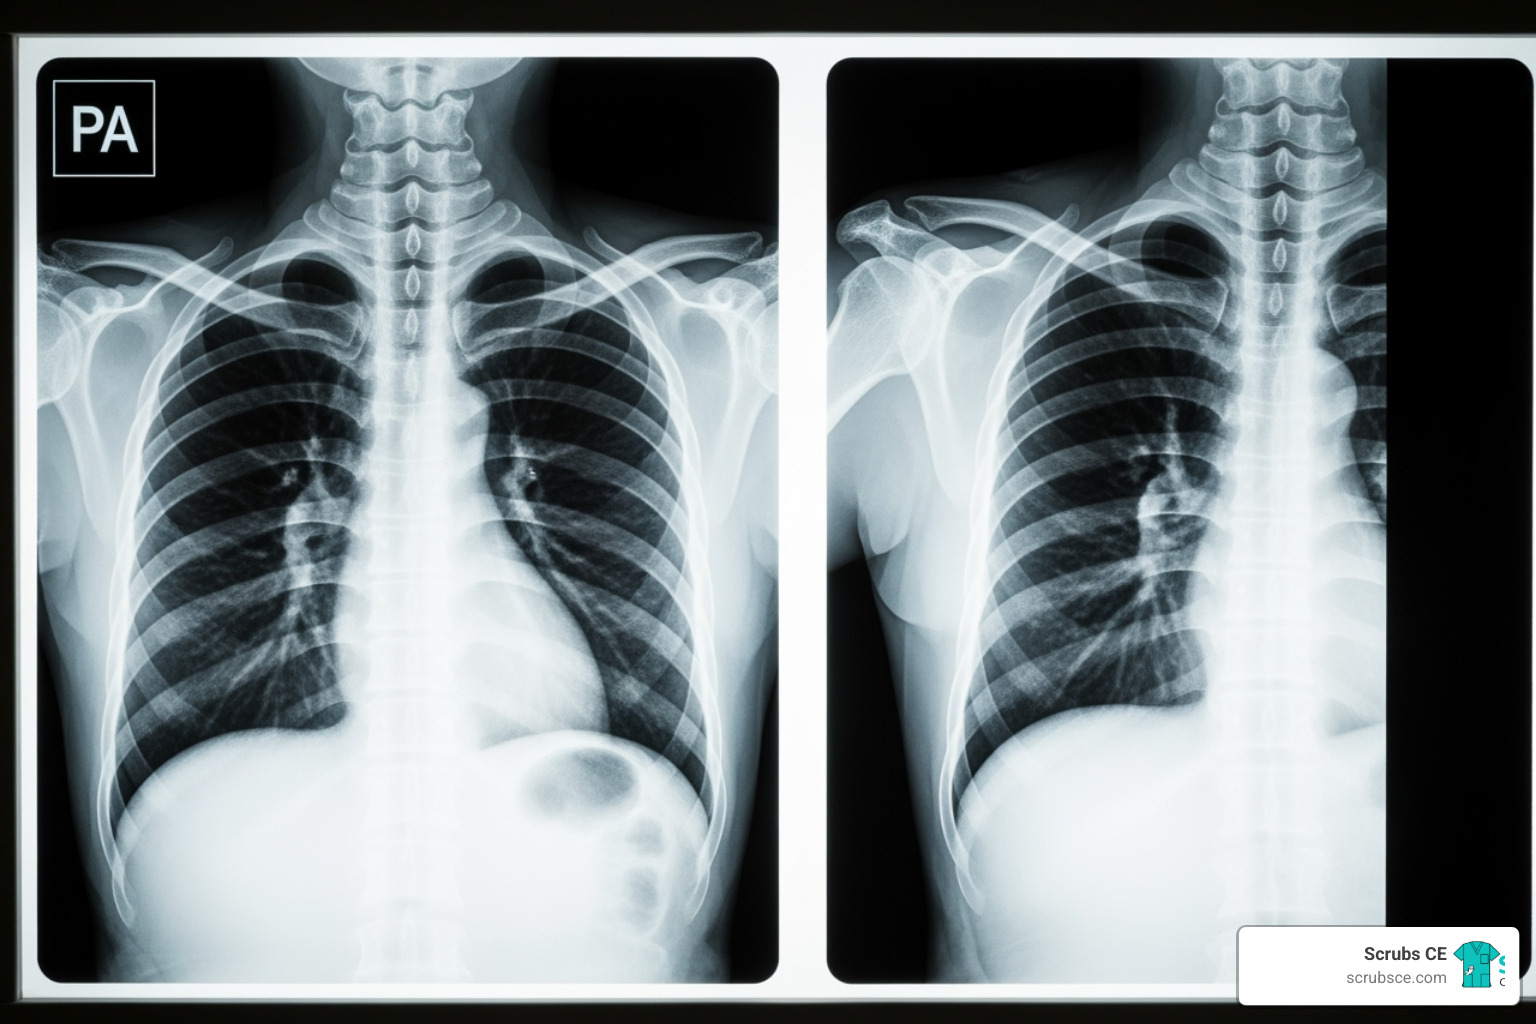
X-ray radiography is the workhorse of imaging. X-ray photons are absorbed differently by various tissues. Dense bone appears white (radiopaque), while air is black (radiolucent), and soft tissues are shades of gray. This differential absorption makes X-rays ideal for quickly identifying fractures, lung issues, and foreign bodies.
Computed Tomography (CT) uses a rotating X-ray tube to create detailed cross-sectional slices. CT quantifies tissue density with Hounsfield Units (HU), from -1000 HU (air) to +1000 HU (bone). Structures are described as hyperdense (brighter), hypodense (darker), or isodense. CT is critical for trauma, stroke assessment, cancer staging, and complex fractures.
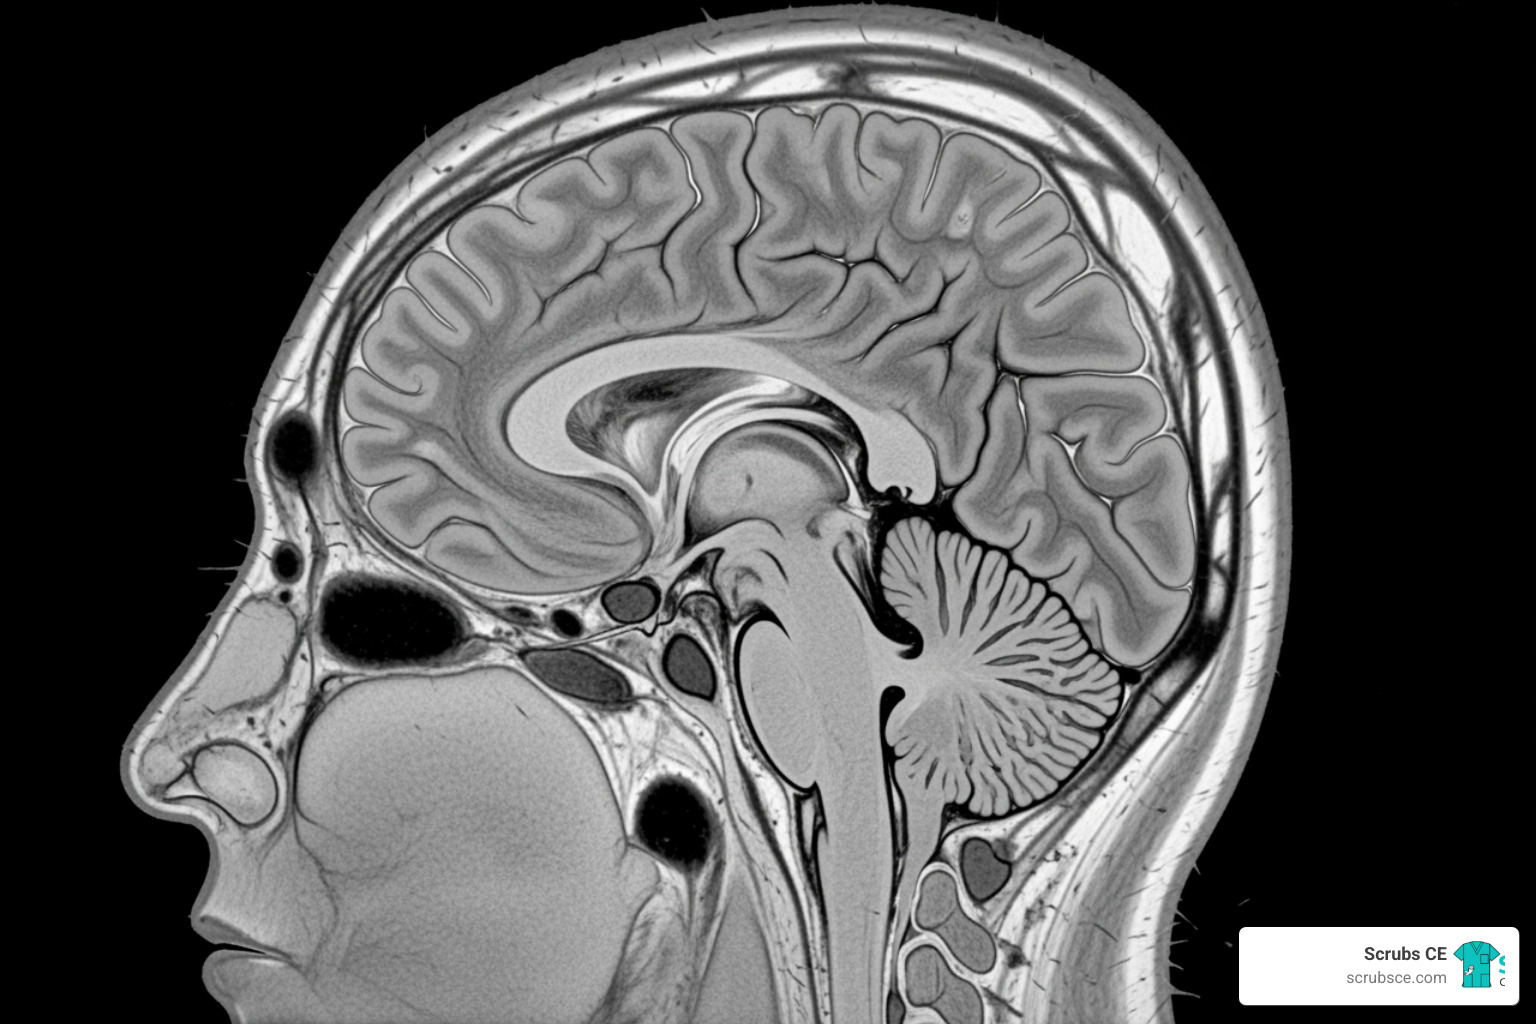
Magnetic Resonance Imaging (MRI) uses magnetic fields and radio waves, not radiation. It interacts with hydrogen atoms in water, providing excellent soft tissue contrast. Key sequences include: T1-weighted images, where fat is bright (hyperintense) and fluid is dark (hypointense), showing great anatomical detail. T2-weighted images, where fat and fluid are bright, are excellent for spotting pathology like inflammation. MRI is the top choice for neurological and musculoskeletal imaging.
Ultrasound uses high-frequency sound waves for real-time imaging. A transducer’s returning echoes create a live image based on echogenicity. Dense tissue is bright (hyperechoic), muscle is darker (hypoechoic), and fluid is black (anechoic). Its real-time, radiation-free nature is perfect for obstetrics, abdominal organs, cardiac imaging, and guiding biopsies.
Nuclear medicine imaging visualizes function, not just structure. Radioactive tracers concentrate in organs based on metabolic activity, and cameras create functional maps. PET scans, for instance, highlight high metabolic activity to detect cancer. This modality is used for cancer staging, heart function assessment, and brain scans.
Here’s how these modalities stack up against each other:
| Modality | Core Principle | Type of Information Provided | Primary Clinical Applications |
|---|---|---|---|
| X-ray | Differential absorption of X-rays by tissues | Structural, bone density, gross pathology | Initial trauma assessment (fractures), chest infections, foreign bodies, skeletal surveys |
| CT | X-ray attenuation in cross-section, quantified by Hounsfield Units (HU) | Detailed cross-sectional anatomy, soft tissue, bone, blood vessels | Trauma, stroke, cancer staging, complex fractures, abdominal pathologies |
| MRI | Magnetic fields and radiofrequency pulses interacting with hydrogen protons | Exceptional soft tissue detail, water content, functional changes | Neurological disorders (brain, spine), musculoskeletal injuries (ligaments, tendons), cancer, joint pathology |
| Ultrasound | High-frequency sound waves reflecting off tissues (echogenicity) | Real-time, dynamic imaging of soft tissues, fluid, blood flow | Obstetrics, abdominal organs (gallbladder, liver, kidneys), cardiac assessment, vascular studies, biopsy guidance |
| Nuclear Med. | Detection of radioactive tracers based on physiological function | Metabolic activity, blood flow, organ function | Cancer detection and staging, heart function, brain activity (epilepsy, dementia), bone scans, thyroid disorders |
Understanding these principles is key to producing quality images. Resources like Understanding Anatomy & Physiology 3rd Ed. can help you master how structures appear across modalities. Your job is knowing which window to use and how to interpret what you see.
Navigating the Human Body: Planes, Positions, and Body Habitus
To create a perfect diagnostic image, you must understand the body’s map: anatomical planes, positions, and body habitus. This foundation is essential for anatomy for radiographers.
Starting Point: The Anatomical Position
This is the universal reference point: standing upright, facing forward, arms at sides with palms forward, and feet together. All directional terms (e.g., anterior, lateral) refer back to this position, regardless of how the patient is actually lying.
Slicing Through the Body: Understanding Anatomical Planes
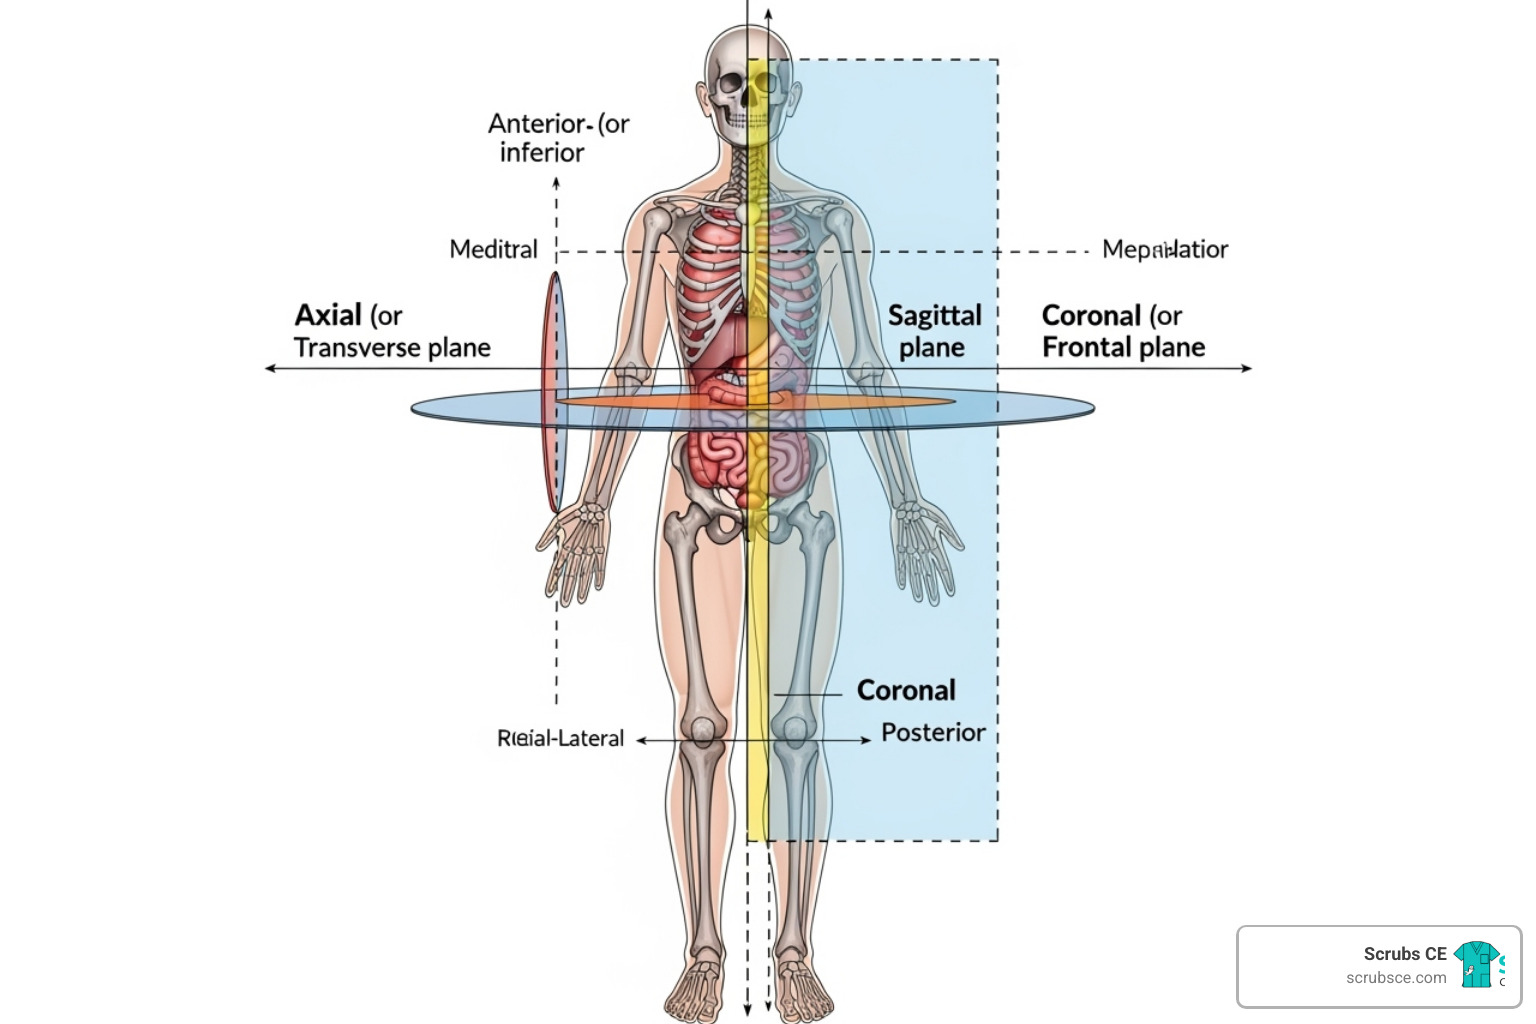
Anatomical planes are imaginary cuts crucial for understanding CT and MRI.
- The sagittal plane divides the body vertically into right and left sections. The midsagittal plane creates two equal halves.
- The coronal (or frontal) plane runs vertically, dividing the body into front (anterior) and back (posterior) portions.
- The axial (or transverse) plane runs horizontally, dividing the body into upper and lower sections. Axial CT and MRI images are typically viewed as if looking up from the patient’s feet.
- An oblique plane is any slice not parallel to the main three planes.
Radiographic Positioning: Where Does the Beam Enter?
Positioning describes the X-ray beam’s path, known as a projection.
- In an AP (anteroposterior) projection, the beam enters the front and exits the back.
- A PA (posteroanterior) projection is the reverse, entering the back and exiting the front.
- Lateral positions involve side-to-side beam travel, 90 degrees from an AP or PA view.
- Oblique positions rotate the patient, so the beam passes through diagonally.
- Decubitus positions are used to find air-fluid levels. The patient lies down, but the X-ray beam is always horizontal (parallel to the floor).
Body Habitus: Why One Size Doesn’t Fit All
Body habitus, the general shape of a person’s body, significantly impacts organ location.
- Sthenic (50% of population): Average, athletic build. Organs are in their expected textbook locations.
- Hyposthenic (35%): Slender and taller. Organs are lower and more vertical.
- Asthenic (10%): Very slender with a long, narrow torso. Organs sit very low and vertically.
- Hypersthenic (5%): Broad, deep chest and large abdomen. Organs are high and more horizontal.
This matters because a patient’s habitus affects your centering point, exposure factors (kVp and mAs), and image receptor size. For example, the stomach can be 6-8 inches higher in a hypersthenic patient than an asthenic one. Assessing a patient’s build helps you adjust your technique proactively, reducing repeat exposures.
For a deeper dive, Fundamentals of Radiographic Positioning and Anatomy is an excellent resource. Understanding these concepts transforms you from a technician into a thinking radiographer who can adapt on the fly.
A Regional Guide to Anatomy for Radiographers
Mastering regional anatomy for radiographers means knowing not just where structures are, but how they appear on different imaging modalities. Let’s tour the body’s major regions.
Brain, Head, and Neck Anatomy
This intricate region houses the brain, sensory organs, and critical vascular structures.
On brain MRI, T1w images show fat as bright and CSF as dark, providing excellent anatomical detail. On T2w images, both fat and fluid are bright, highlighting pathology like edema or inflammation. Head CT is vital for trauma. We use bone windows to see the skull base, orbits, and paranasal sinuses for fractures, and soft tissue windows to evaluate brain parenchyma for hemorrhage or mass effect. Neck CT reveals the cervical spine, thyroid gland, and major blood vessels. The Anatomy Coloring Workbook can help reinforce these complex relationships.
Spine and Chest Anatomy
The spine is our central pillar, and the chest contains our vital heart and lungs.
The chest X-ray is a frontline tool. Many use the ABCD rule for systematic review: Airways, Breathing (lungs), Cardiac (mediastinum), and Diaphragm. Chest CT offers greater detail, showing individual bronchopulmonary segments, pulmonary vessels, and the mediastinum. The diaphragm appears as a smooth dome separating the chest and abdomen.
Spine imaging covers the cervical, thoracic, and lumbar regions. While X-rays show alignment and bone, CT and MRI reveal intervertebral discs, the spinal cord, and neural foramina, which is crucial for assessing conditions like sciatica. Essentials of Anatomy and Physiology 8th Ed. provides comprehensive coverage.
Abdomen and Pelvis Anatomy
This region is a mix of solid organs, hollow tubes, and bones. Abdominopelvic CT is a primary tool for evaluating pain, trauma, and cancer. It visualizes solid organs like the liver (with its hepatic segments), spleen, and kidneys, and hollow organs like the bowel and bladder, all framed by the pelvic bones.
Clinically, the abdomen is divided into four quadrants:
- Right Upper Quadrant (RUQ): Liver (right lobe), gallbladder, pancreas head, right kidney.
- Left Upper Quadrant (LUQ): Liver (left lobe), stomach, spleen, pancreas tail, left kidney.
- Right Lower Quadrant (RLQ): Cecum, appendix, ascending colon, right ovary/tube.
- Left Lower Quadrant (LLQ): Descending/sigmoid colon, left ovary/tube.
This system helps localize pathology, such as suspecting appendicitis with RLQ pain.
Upper and Lower Limb Anatomy
The extremities are frequently imaged for injuries. In the upper limb, shoulder MRI is invaluable for evaluating the rotator cuff muscles. Wrist MRI reveals the eight carpal bones and associated ligaments, crucial for diagnosing conditions like carpal tunnel syndrome. Plain X-rays of long bones (humerus, radius, ulna) and joints remain essential for fracture detection.
In the lower limb, knee MRI is the standard for soft tissue injuries, especially to the ACL, PCL, and menisci. For the ankle, specific X-ray views like the mortise view are used to visualize the joint space clearly. We also routinely image the long bones (femur, tibia, fibula) and joints of the lower limb for fractures and degenerative changes. Part 1: Anatomy & Physiology in Health and Illness 13th Ed. offers comprehensive coverage of these systems.
Advanced Techniques and Clinical Application
Mastering fundamental anatomy for radiographers opens the door to advanced techniques that improve diagnostic accuracy and patient care.
Enhancing Visualization: A Guide to Contrast Agents
Contrast agents are specialized substances that highlight anatomical structures that would otherwise be difficult to see.
In CT imaging, iodine-based contrast is administered intravenously (IV contrast) to make blood vessels and highly vascular tumors appear bright white. This is essential for assessing organ perfusion and vascular issues. The way tissues improve—their improvement patterns—provides diagnostic clues. For GI studies, barium-based contrast is given orally or rectally to coat and outline the digestive tract on X-rays and CT scans, revealing obstructions or masses.
MRI contrast uses gadolinium-based agents. Instead of blocking X-rays, gadolinium alters the magnetic properties of nearby water molecules, making tissues appear brighter on T1-weighted images. This is highly effective for detecting tumors, inflammation, and evaluating blood vessels, especially in the brain.
Common Pitfalls and Artifacts in Radiological Anatomy
Even with perfect technique, artifacts can appear on images. Recognizing them is a key skill.
- Motion artifact from patient movement causes blurring that can obscure details. We combat this with clear communication, immobilization, and short exposure times.
- Beam hardening is a CT artifact that occurs when X-rays pass through dense material like bone or metal. It creates dark streaks that can obscure adjacent soft tissues.
- Metal artifacts from surgical clips or joint replacements create significant distortion on both CT (streaks) and MRI (signal voids), making nearby anatomy difficult to read.
- Patient positioning errors, even slight rotation on a chest X-ray, can mimic pathology, such as making a normal heart appear enlarged. Meticulous positioning is crucial for diagnostic accuracy.
A vital skill is recognizing normal anatomical variants. Many people have accessory bones that can look like fractures or unusual organ positions that are harmless. Experience and continuous learning help distinguish these normal variations from true abnormalities.
From Anatomy to Pathology: The Radiographer’s Role in Diagnosis
While radiographers do not make diagnoses, our role is foundational to the process. We compare every image against a mental normal anatomy baseline. Our ability to spot deviations from this baseline is critical.
- Fracture detection relies on seeing subtle cortical breaks or displacements.
- Mass effect, where a tumor or fluid pushes structures from their normal position, requires knowing exactly where those structures should be.
- Fluid collections in the pleural space or joints can be subtle, but knowledge of normal anatomy makes them stand out.
As the WHO manual of diagnostic imaging emphasizes, fundamental imaging techniques are indispensable. By producing high-quality images that clearly show relevant anatomy, we act as the first line of quality control and are essential in aiding radiologists. Our anatomical expertise directly contributes to accurate diagnoses and effective patient treatment.
Frequently Asked Questions about Anatomy for Radiographers
Here are answers to some common questions about anatomy for radiographers.
What is the difference between density in CT and intensity in MRI?
These terms both describe image brightness but measure different physical properties.
CT density measures X-ray attenuation in Hounsfield Units (HU). It reflects how much a tissue physically blocks X-rays. Dense bone has a high HU value and appears bright white (hyperdense), while air has a low HU value (-1000) and appears black (hypodense). Water is the baseline at 0 HU (gray).
MRI intensity measures the proton signal strength from hydrogen atoms in water. It depends on tissue properties like water content and how protons react to magnetic fields and radio waves, not physical density. On T1-weighted images, fat is bright (hyperintense); on T2-weighted images, fluid is bright. Brightness is described as hyperintense or hypointense.
In short: CT density is about X-ray absorption, while MRI intensity is about magnetic signal strength.
How does a patient’s body habitus affect radiographic technique?
A patient’s body habitus changes organ location and requires adjustments to imaging technique.
For a hypersthenic patient (broad, deep torso), organs like the heart and stomach sit higher and more horizontally. You must raise your centering, increase exposure factors (kVp and mAs) to penetrate more tissue, and may need a larger image receptor.
For an asthenic patient (slender, long torso), organs are lower and more vertical. You must lower your centering and decrease exposure factors.
Most patients are sthenic or hyposthenic, for whom standard techniques are designed. Recognizing and adapting to other body types is crucial for avoiding repeat images and ensuring diagnostic quality.
Why are anatomical planes crucial for interpreting CT and MRI scans?
Anatomical planes are the coordinate system for cross-sectional imaging, allowing you to mentally reconstruct 2D slices into a 3D visualization.
The axial, sagittal, and coronal views each provide a unique perspective on the same anatomy. Understanding which plane you are viewing is essential for lesion localization. By tracking an abnormality across different planes, you can pinpoint its exact 3D location and its relationship to surrounding structures.
This precision is vital for surgical planning, as surgeons need a detailed roadmap. It also enables clear communication among the healthcare team. Anatomical planes are not just academic; they are the practical framework for navigating the human body in modern imaging.
Conclusion: Sharpen Your Skills and Advance Your Career
From understanding imaging physics to mastering anatomical planes and body types, it’s clear that anatomy for radiographers is the foundation of our profession. This knowledge transforms a technically correct image into a truly diagnostic one, directly impacting patient care.
Our field is constantly evolving, which makes lifelong learning a core competency. Staying current ensures we deliver the highest image quality and maintain patient safety. This commitment to professional development is what defines excellence in radiography.
We know finding time for continuing education is challenging. That’s why Scrubs CE offers flexible, self-paced continuing education courses designed for busy professionals. Learn on your schedule and get instant certificates to meet your licensure requirements without hassle. We’ve built our course catalog with working radiographers in mind, because we believe advancing your career shouldn’t mean putting your life on hold.
Ready to sharpen your skills? Your patients and your career will benefit.
Explore our full catalog of X-Ray CEU courses to master your craft.
Recent Comments